For security reasons, it is recommended to use SSH keys instead of passwords for server access. The primary advantage of SSH keys is their resistance to brute-force attacks, making them nearly impossible to decipher compared to passwords. Additionally, SSH key authentication is more convenient, as it allows access to multiple servers without needing to remember and enter a password each time.
1. Generating an SSH Key Pair
SSH keys are generated in pairs: a private key and a public key. The private key must be kept secure and only known to you, while the public key can be shared with any server you wish to access.
Generating SSH Keys via Command Line in Linux
To generate SSH keys, run the following command:
ssh-keygen -t rsa -b 4096
You will then be prompted to specify a file to save the key:
Enter file in which to save the key (/home/username/.ssh/id_rsa):
Next, you will be asked for a passphrase:
Enter passphrase (empty for no passphrase):
Although a passphrase is not required, it is highly recommended for added security. Without a passphrase, your private key will be stored unencrypted on your computer. Choose a strong passphrase to ensure the security of your private key.
Finally, you will see a message indicating where your private and public keys have been saved:
Your identification has been saved in /home/username/.ssh/id_rsa.
Your public key has been saved in /home/username/.ssh/id_rsa.pub.
The key fingerprint is:
4d:23:69:6a:7a:39:12:a2:eb:bb:d6:78:66:2a:64:a9``` root@server.hostname
Generating SSH Keys via PuTTY Key Generator (PuTTYgen) in Windows
PuTTYgen is a free utility used to generate SSH keys for use with PuTTY to connect to a server. You can download PuTTYgen and the PuTTY client here.
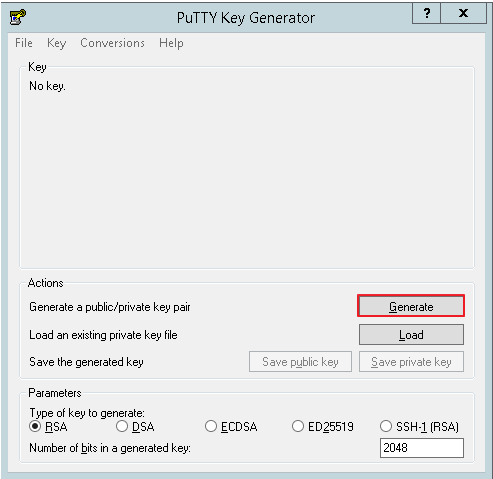
To generate SSH keys with PuTTYgen:
- Run the downloaded PuTTYgen.
- Click the Generate button.
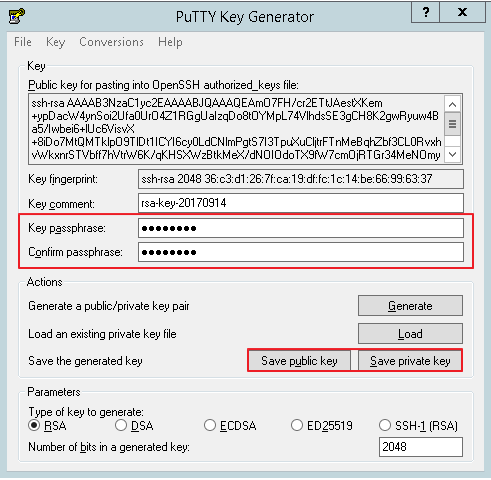
After pressing Generate, move the mouse within the window. PuTTY uses these mouse movements to collect randomness for generating the key. Once the key is generated, enter a passphrase in the Key passphrase and Confirm passphrase fields.
Note: While a passphrase is not required, it is highly recommended for enhanced security. Without a passphrase, your private key would be stored unencrypted on your computer. We recommend setting a strong passphrase to protect your private key.
Next, click the Save public key and Save private key buttons, enter filenames, and select the folder where the keys should be stored.
2. Set up SSH keys
To set up SSH keys on your server, you might need to install or re-install the operating system. First, open the saved public key file and make the necessary changes:
For Key Generated via Command Line (Linux OS)
You may see a key that looks like this:
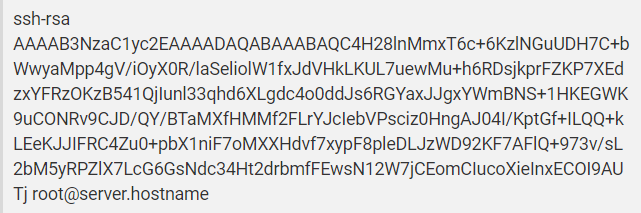
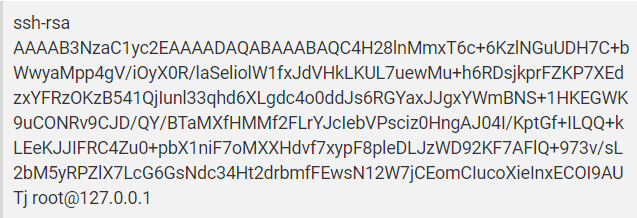
Change root@server.hostname to root@<server_ip_address>, where <server_ip_address> is your server's IP address. After making this change, your public key should look like this:
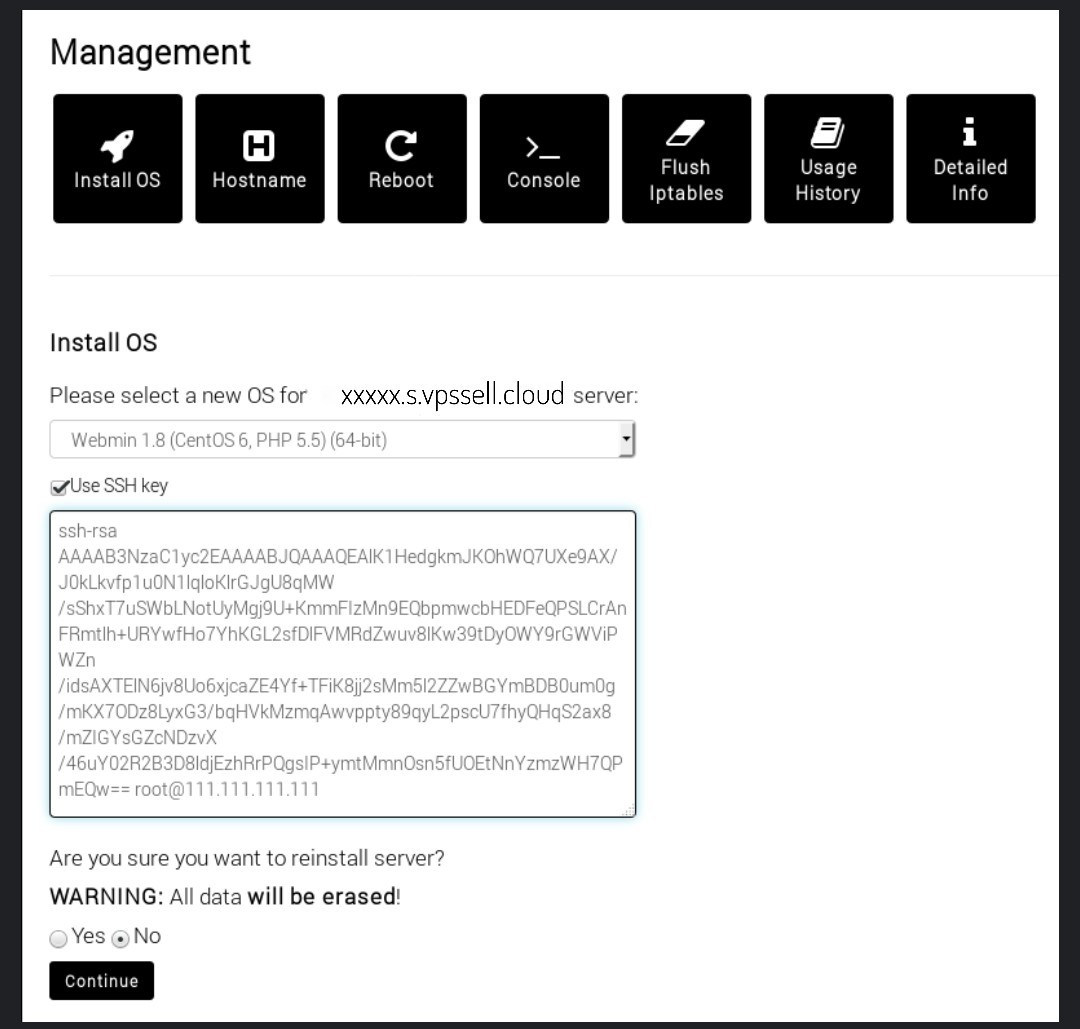
Choose actual OS from the drop-down list, mark Use SSH key and paste the public key to the field below.
For key generated via PuTTYgen (Windows OS)
You may see such key:
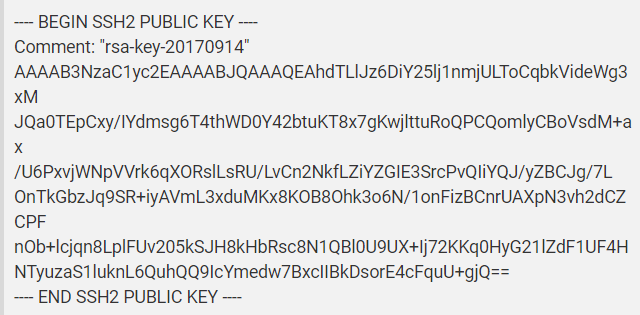
Copy the key between the comment Comment: "rsa-key-20170914" and the end of the key ---- END SSH2 PUBLIC KEY ----. Remove all new lines and spaces, which can be done by opening the file in Notepad.
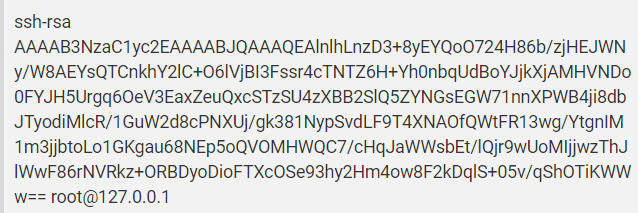
Choose the actual OS from the drop-down list and mark the option to use an SSH key. In the field below, enter ssh-rsa , then paste the copied public key, and finally, add root@<server_ip_address>, where <server_ip_address> is your server's IP address.
The pasted public key should look like this
3. Connect to the Server with SSH Keys
Connection via PuTTY (for Windows OS)
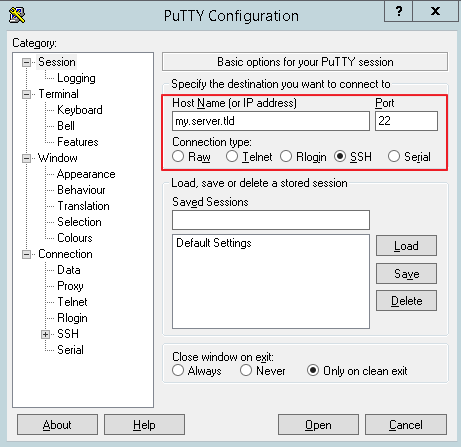
The most convenient way is to create and save a profile for the connection in PuTTY. First, open PuTTY and in the Host Name (or IP address) field, enter your server's hostname or IP address. Enter the port number for SSH in the Port field (the default is 22) and select SSH as the Connection type.
On the left-hand side of the window select Data under Connection. To the field Auto-login username enter root:

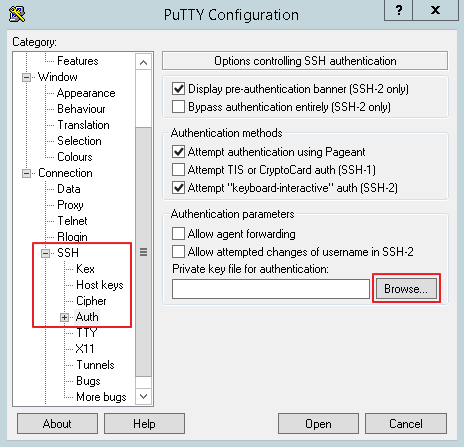
Expand SSH under Connection and select Auth. Click button Browse on the right-hand side of the window and choose your private key.
Select the Session category and enter a profile name in the Saved Sessions field. Click the Save button in the Load, Save or Delete a stored session area.

Now, to log in with the saved profile, select it from the list under Saved Sessions and click the Open button. You will not be asked for a password, but if you set a passphrase, you will be prompted to enter it each time you log in.
Connection via the Command Line (for Linux OS)
First, create a ~/.ssh/config file on your computer and add the key and server details to it:
Host shortcut
HostName serverIPAddress
User root
IdentityFile /home/username/.ssh/id_rsa
Where:
- Host: The shortcut name you will use to connect to your server.
- HostName: The IP address of the server you want to connect to.
- User: The username, typically
root.
- IdentityFile: The full path to your private key.
After creating the ~/.ssh/config file, you will be able to connect to the server using the shortcut name with the following command:
ssh shortcut
You will not be asked for a password, but if you set a passphrase, you will be prompted to enter it each time you log in.