Nextcloud is an open-source cloud storage platform that facilitates file sharing and hosting, similar to other cloud-based services like Google Drive, Dropbox, and ownCloud. Written in JavaScript and PHP, Nextcloud supports PostgreSQL, MySQL, SQLite, and Oracle databases.
Previously, we provided a tutorial on installing [Nextcloud on CentOS 7 with MariaDB and PHP](https://). Now, we'll guide you through installing Nextcloud 20 on a server running Ubuntu 20.04.
Installation Steps
Update Your System
Before installing any packages, ensure your system is up to date:
sudo apt update
sudo apt upgrade
Install Nextcloud
Install Nextcloud using the Snap package system, which comes pre-installed on Ubuntu 20.04:
sudo snap install nextcloud
The output message should look like this:

Nextcloud is being installed using the Snap packaging system, which is available on Ubuntu 20.04 by default. This packaging system allows installing wanted tools automatically with required packages.
After installation, verify the status with:
snap changes nextcloud

Create an Administrative Account
To secure your Nextcloud instance, create an admin account via the command line, preventing public access to the registration page:
sudo nextcloud.manual-install username password
Replace username and password with your desired credentials. A confirmation message will indicate successful configuration.
Configure Trusted Domains
By default, Nextcloud only responds to localhost requests. To add your server's domain name or IP address as a trusted domain, run:
sudo nextcloud.occ config:system:set trusted_domains 1 --value=example_domain.com
Replace example_domain.com with your actual domain or IP address. You can verify the configuration by listing the trusted domains:
sudo nextcloud.occ config:system:get trusted_domains
To add your server’s domain name or IP address, simply replace the placeholder example_domain.com in the command below with your actual domain or IP:
sudo nextcloud.occ config:system:set trusted_domains 1 --value=your_domain_or_ip
You can verify that your domain or IP address has been successfully added to the trusted domains list by running:
sudo nextcloud.occ config:system:get trusted_domains
The output should confirm that your domain or IP address is now trusted.
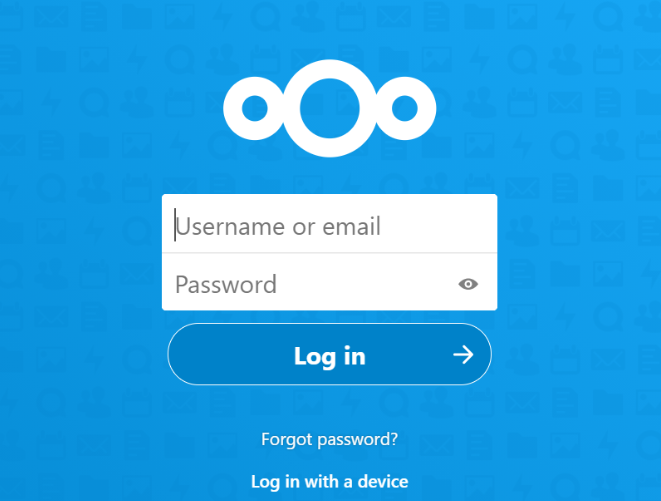
With this done, you can access your Nextcloud instance by navigating to your server’s domain name or IP address in a web browser. Log in using the administrative credentials you created earlier.
For more details, refer to the official Nextcloud documentation and community forum.